Grafcet Drawing Tips
This page shows user actions to draw a Grafcet plan faster. The images are all animated GIF files that run endlessly. Just wait until the sequence starts again.
Create symbols
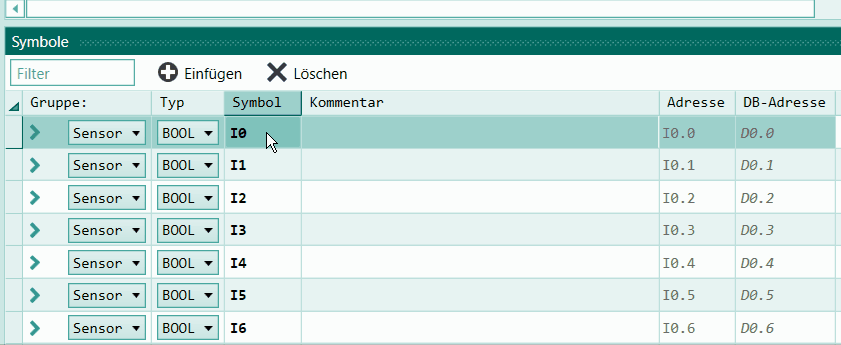
Before the Grafcet chart is drawn, the symbol table should be filled in.
Symbols with sequential numbers are often required.
Example: S0, S1, S2, S3, ...
These symbols can be created very quickly. Simply enter the first symbol, select and then press the Insert button repeatedly.
Picture:
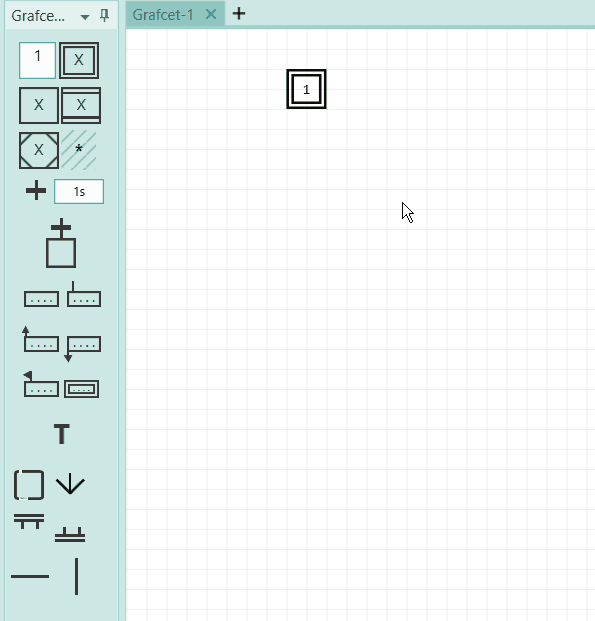
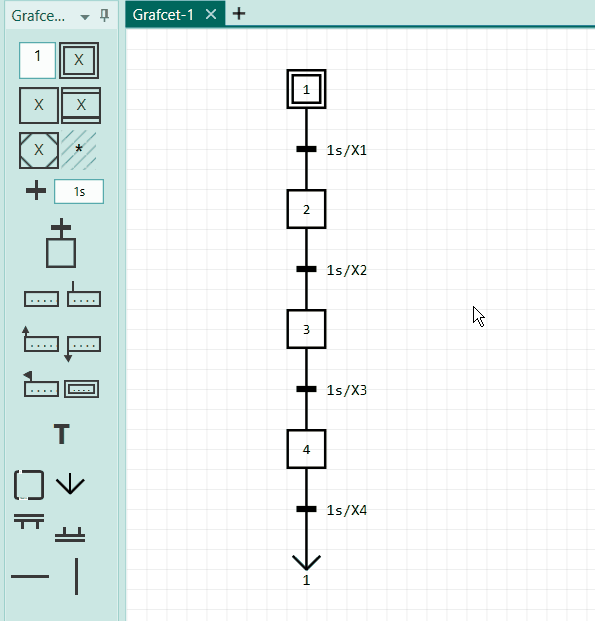
Drawing the step chain
Step chains can be created very quickly with the mouse or keyboard.
In the following picture you can see how to create a step chain with the mouse.
When drawing the back jump it is important to release the mouse at the upper edge of the step.
The next picture shows the creation with the keyboard. Press the Insert key on the keyboard repeatedly. To enter the jump at the end, press Ctrl and the Insert key at the same time.

Draw actions
Actions are drawn to the right of the step. Several steps can be arranged one behind the other or one below the other.
Draw actions with the mouse: Mark the step and click the icon of the action repeatedly.
Info
When inserting actions, default operands from the symbols are inserted. These can be changed afterwards.
Info
Change type of an action: To change the type of an action, select it and then click on the corresponding icon (Window 'Grafcet Elements'). The type can also be changed using the Tab key.
Draw actions with the keyboard: Select the step and press Ctrl and the Insert key simultaneously. Initially, continuous actions are always inserted. The type can be changed after insertion by selecting the action with the Cursor keys and then pressing the Tab key.
Picture:

Arrange actions one below the other:
The next animation shows how to arrange actions below each other and connect them via the context menu.
Edit the Grafcet chart
This allows you to edit a step, action, or transition:
Double-click with the mouse on the object so that the input field appears. Then you can make changes. Finally, press the Return key.
However, it is more convenient to select the object with the Cursor keys and then press Return. The input field appears and you can edit. Confirm the entry with the Return key.
The following GIF animation shows editing (exclusively) with the keyboard.
Keyboard mapping Grafcet editing
| Key | Action | Comment |
|---|---|---|
| Cursor keys: ↑, ↓, ←, → | Select object | |
| Ctrl + ↑, ↓, ←, → | Move selected objects | |
| Insert | Insert step or transition | Step or transition must be selected |
| Ctrl+Insert | Insert action or jump | Step or transition must be selected |
| Return | Start editing or confirm it | |
| F2 | Edit the condition or an action | |
| Delete | Delete selected objects | |
| Ctrl+Z | Undo last action | |
| Ctrl+C | Copy selected objects to clipboard | |
| Ctrl+V | Paste from clipboard | |
| Ctrl+D | Duplicate selected objects | |
| Ctrl+Space | Open AutoComplete | Edit field must be open. Not possible for comment fields. |
Copy and Paste for the Grafcet chart
With Copy&Paste you can duplicate any Grafcet elements as well as entire Grafcet step chains. After duplicating, new step numbers are created so that each step has a unique name.
In the first step, you select all the elements that you want to copy. Then press Ctrl+C. This copies the elements to the clipboard. The key combination Ctrl + V inserts from the clipboard. Tip: Via Ctrl+D you can do the same.
Selected objects can also be duplicated with the mouse: With the Ctrl key held down, click on the selected objects and drag them to the desired position.
Picture: Duplicate with Ctrl+D:
In the next image, the elements are first selected with the mouse and then Ctrl+D is pressed.
Duplicate with the mouse:
In the following image, the elements are first selected with the mouse and then Ctrl is pressed.

Create branches
You can create a branch quickly by selecting and duplicating. In the following image a part of the Grafcets is selected. The part should begin and end with a transition. Pressing Ctrl+D creates a copy that is placed at the correct distance to the right. With Ctrl+Cursor keys you can correct the position. The new branch to the left is then connected with the mouse. Now only the desired changes have to be made and the branch is finished.
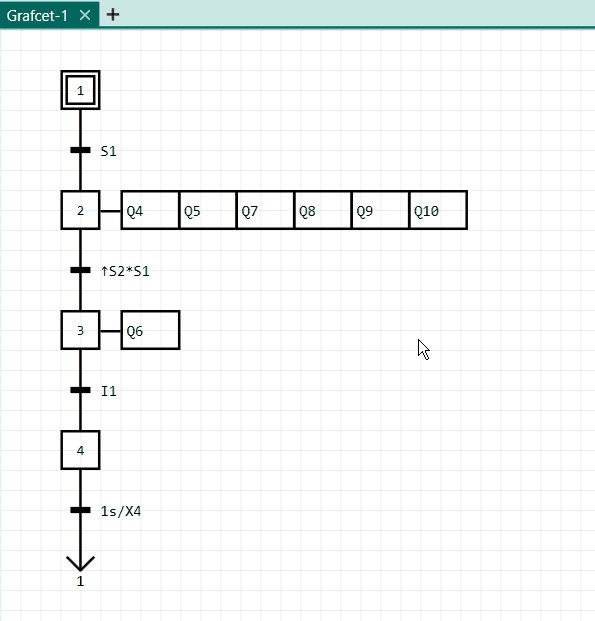
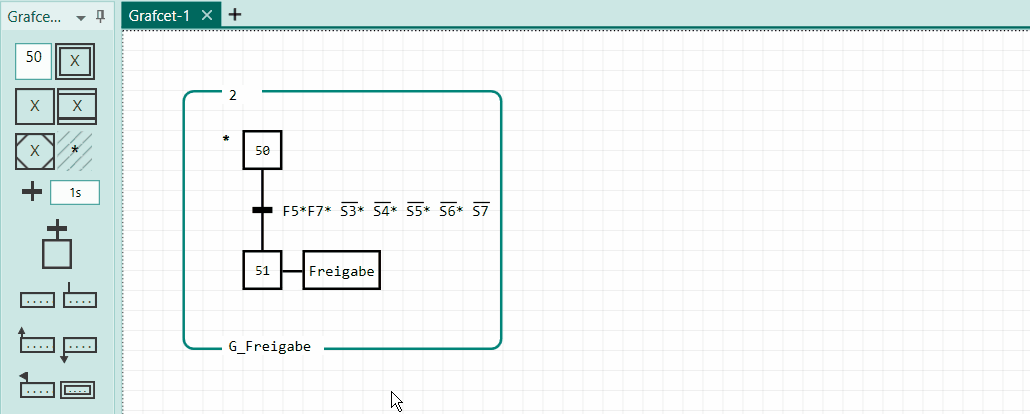
Best practice to copy a existing Grafcet on paper
If you want to capture an existing Grafcet on paper, you can use this trick.
Example: This Grafcet is to be copied:
In the above image the steps 50 and 51 are used and in the lower graph the steps 400 and 401 are used.
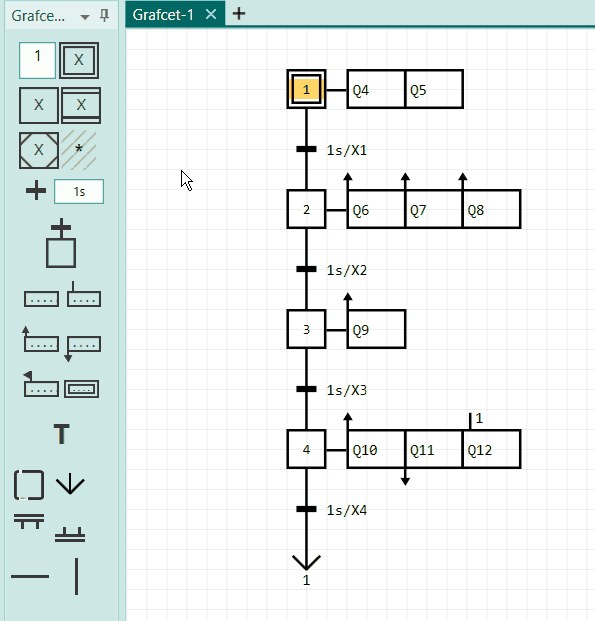
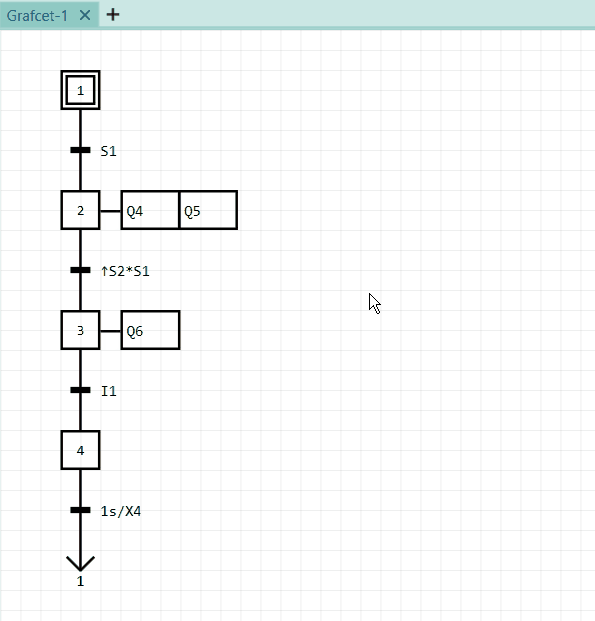
In Grafcet-Studio we now set the step start number to 50 and for the 2nd Grafcet to 400. The steps created then instantly have the correct step number. In addition, you are faster if you first draw the entire Grafcet with steps, transitions and actions without editing the objects. This is adjusted at the very end. **So first the structure is drawn and then the elements are set correctly.
Draw the 1st Grafcet chart(without subsequent editing):
The start step number is set to 50.
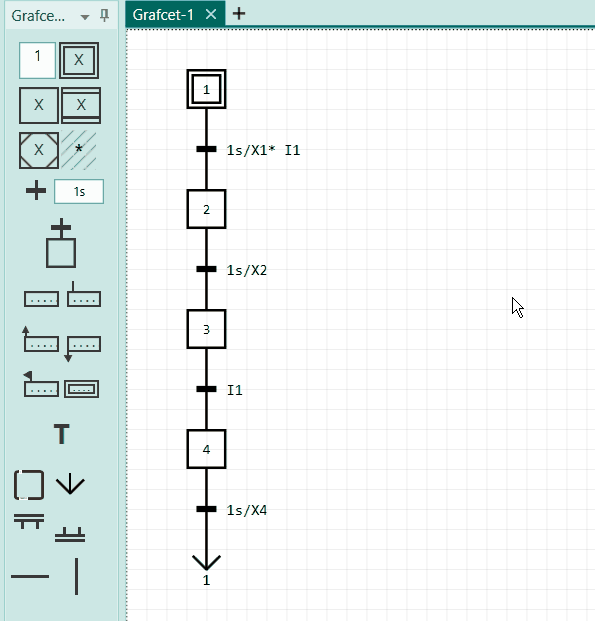
Draw the second Grafcet chart:
This can be done even faster because the 1st Grafcet is simply copied. Before the start step number is set to 400.
The border is selected in the image. This selects all elements in the border. Then duplicate with Ctrl+D.
Step names
We recommend that you use numbers for the step names: 1,2, ... 100, 200, 400, 500 This has the advantage that new step names can be generated automatically when copying Grafcet structures. This makes the copied Grafcet immediately executable.
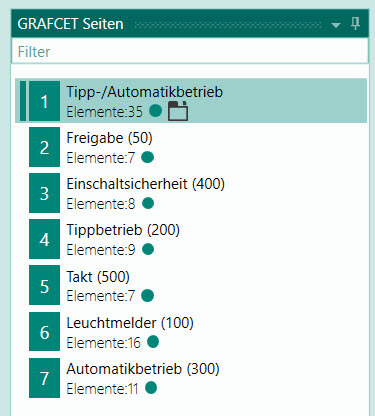
Grafcet pages
For large Grafcets it is recommended to split the Grafcet into different Grafcet pages. The following picture shows an example with 7 pages. In this case, the Start step number was also mentioned in the name of the Grafcet page (e.g. "(50)").