Table of selected objects (as of V1.8.4.0)
The objects currently selected on the drawing area can be inserted into the table "Selected objects". By double-clicking on the entry of an object within the table, its properties can be displayed and edited. This is particularly helpful if an object is arranged in a lower Z-plane and thus cannot be selected individually on the drawing area.
Use of the table
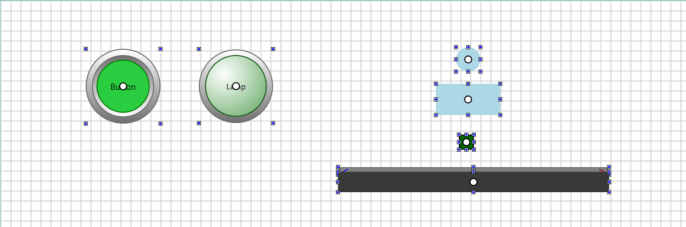
First, the objects to be included in the table are selected on the drawing surface. For example, the mouse rubber band can be used for this.
If the left mouse button is released after enlarging the mouse rubber band, all objects within it are selected.
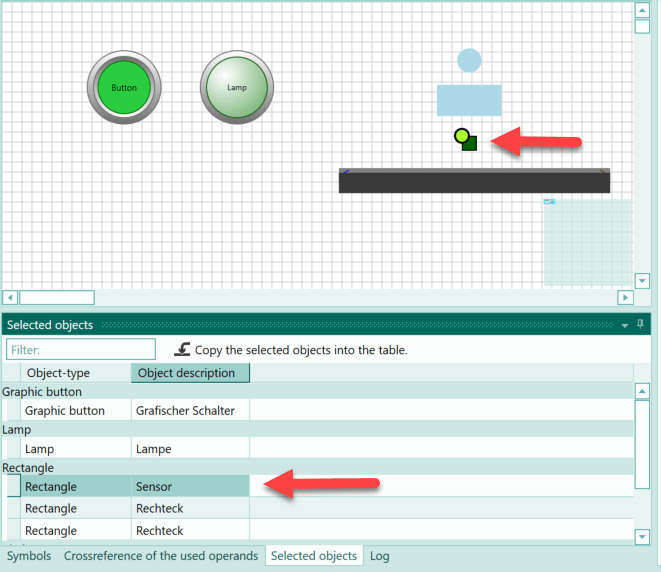
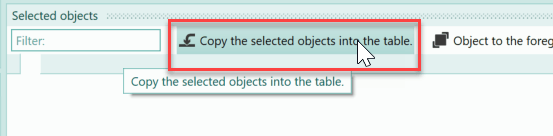
Now the button "Copy the selected objects into the table" can be pressed.

As a result, the selected objects are inserted into the table. The active object in the table is marked in the drawing area.
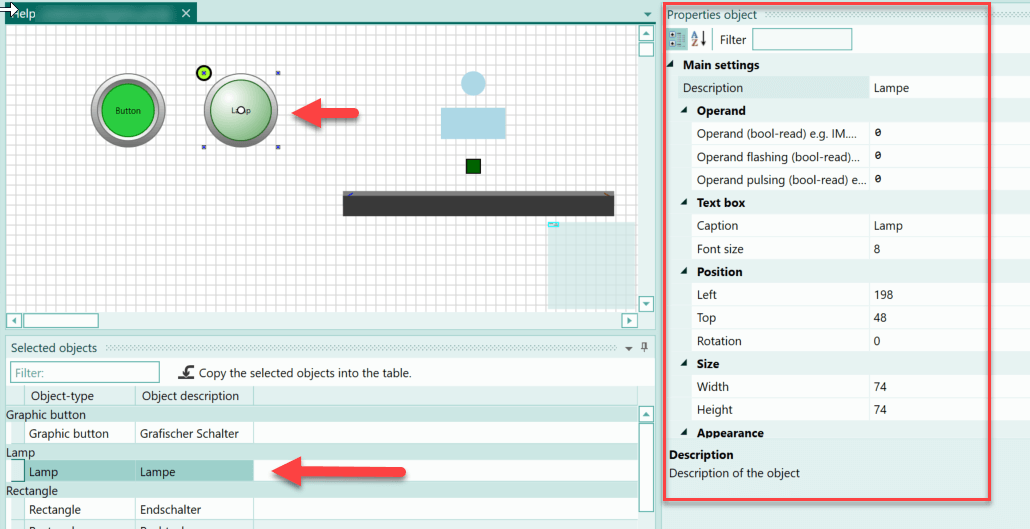
If you double-click within the table, the corresponding object is marked and selected so that its properties are visible and editable. The position of the object can also be changed using the arrow keys on the keyboard. In the following illustration, the lamp was selected within the table by double-clicking on it.
Example for the use of the table
An example will now show in which scenarios the table of selected objects is helpful.
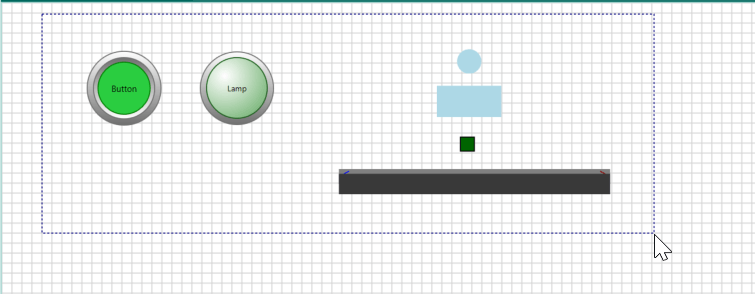
The following picture shows the virtual installation of a washing machine for metal parts.
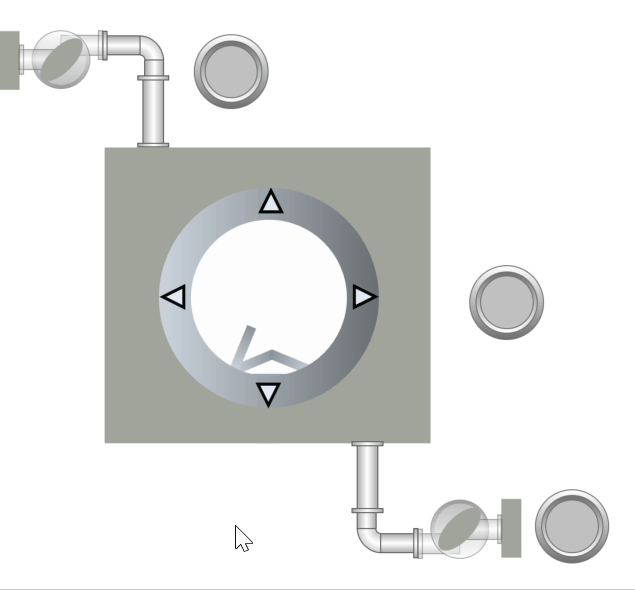
Several objects have been arranged on top of each other to draw the system. These therefore have different values for the Z-order so that the objects overlap. If an object has been placed at the back of the drawing plane, it is difficult to select it. This means that if you want to select the object with the mouse to change its properties, this is only possible if you move the objects above it.
In such a case, the table of selected objects is a great help. If, for example, you want to change a setting or a property of the liquid object used in the system, which displays the liquid level of the washing machine, then proceed as follows:
Selecting the objects to be inserted into the table
To select the objects to be inserted in the table, the mouse rubber band can be used in the example.
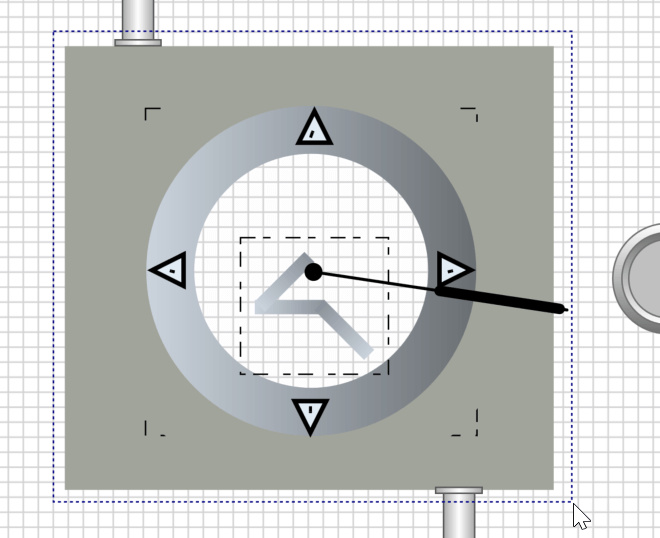
If the mouse rubber band is pulled open and then the left mouse button is released, all objects within the rubber band are selected.
Inserting the selected objects into the table
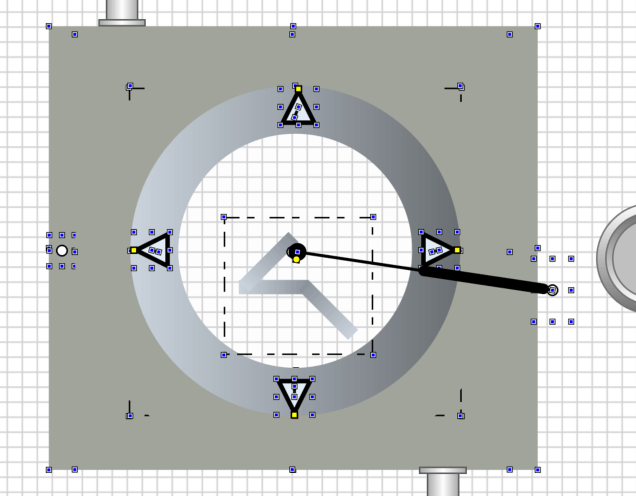
Now the tab of the table is selected and the button "Take over selected objects into the table" is pressed.
As a result, the objects are visible in the table, sorted by the object types.
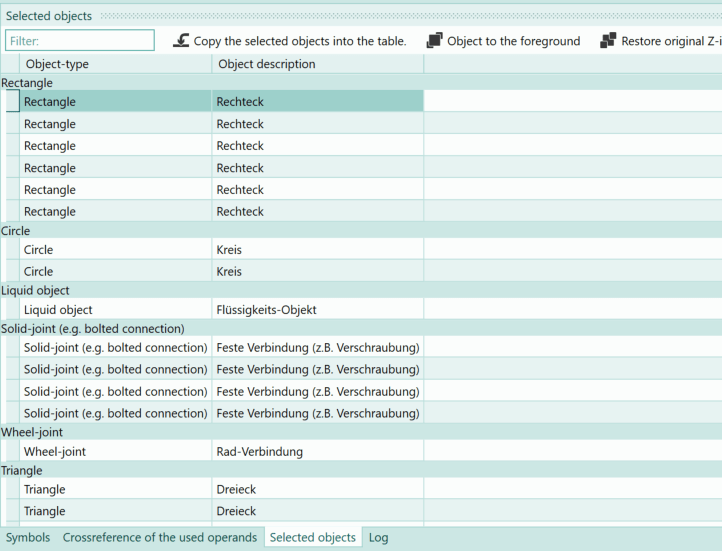
Selecting the liquid object and changing the drawing layer
The liquid object is now selected within the table. After a simple mouse click on the entry of the object in the table, the object is marked on the drawing surface. However, this is not visible in the example because the object is covered by other objects.
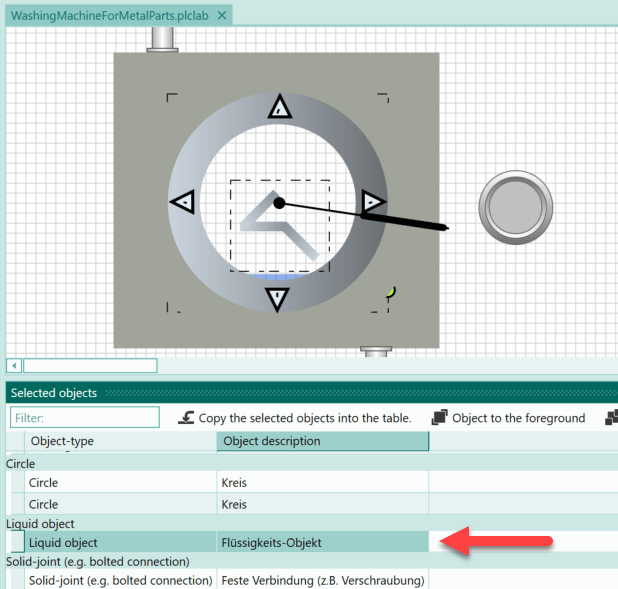
If necessary, you can now bring the object to the foreground by pressing the button "Object to foreground".
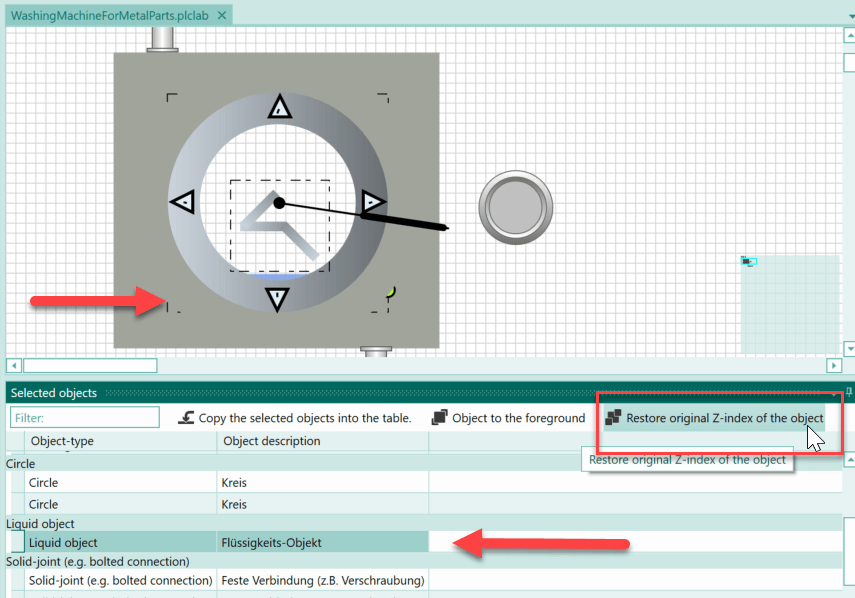
This makes it visible. However, this is not necessary for the display of the object's properties, which can also be called up when the object is hidden. Via the button "Restore original Z-index of the object", the object is sorted back into the old drawing layer. Thus it is hidden again after the action.
For the example, however, the object should be visible, which is why it is brought back to the foreground.
Display properties of the object
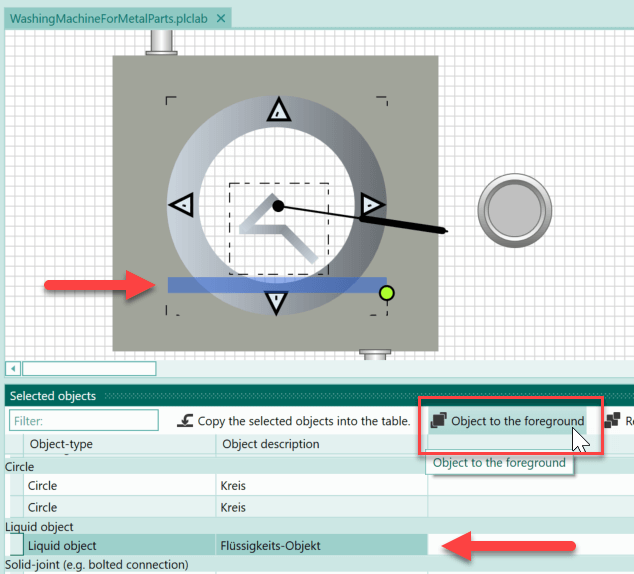
To call up the properties of the object, double-click on the line of the object in the table. As a result, the object is selected and its properties are visible.
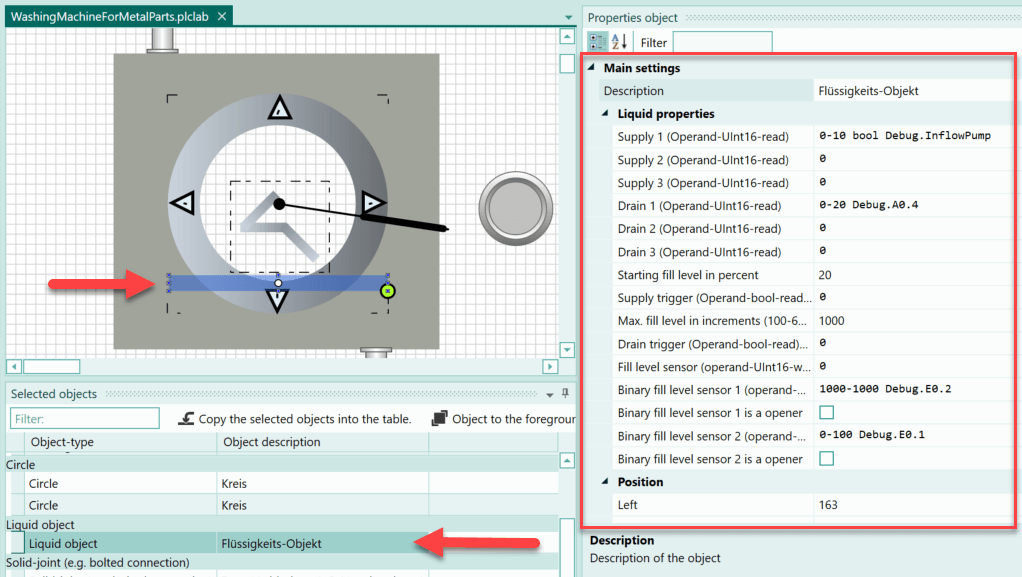
Now the desired property can be adjusted. It is also possible to change the position of the object on the drawing surface using the keyboard and the arrow keys.
Once the change is complete, the object can be placed back in its old drawing plane (via the button "Restore original Z-index of the object") if the object was brought to the foreground.
Conclusion
Whenever an object on the drawing area cannot be selected directly with the mouse, for example because it is hidden by other objects, the table of selected objects can be used. You can use the mouse rubber band to select the desired objects and then have them inserted into the table. Then double-click on the object to display its properties. Furthermore, the object is selected on the drawing area and its position can be changed with the help of the arrow keys on the keyboard.
With the help of the button "Object to the foreground" the active object in the table is moved to the top drawing layer. Although this is not necessary for changing the properties, it can be helpful if you want to change the position of the object or if you want to make sure that you have selected the correct object. The button "Restore original Z-index of the object" undoes the process, i.e. the object is moved back to the old drawing plane.